How to Assemble Your Bare Wooden Stretcher Frame: A Step-by-Step Guide
Master the assembly of your professional stretcher frame with this detailed guide. We walk you through every step—from organizing the numbered parts to the final alignment—ensuring your support has the architectural stability and perfect squareness required for a high-end canvas.
Assembling Your Stretcher Frame: The Master Toiles Professional Method
In this guide, we provide a step-by-step tutorial on how to assemble your wooden stretcher kit, ensuring professional results without damaging the wood.
Required Tools:
- A wooden mallet (preferred) or a hammer with a wooden block to protect the outer corners.
- A screwdriver (PZ1 or Torx T20) for the crossbar assembly.
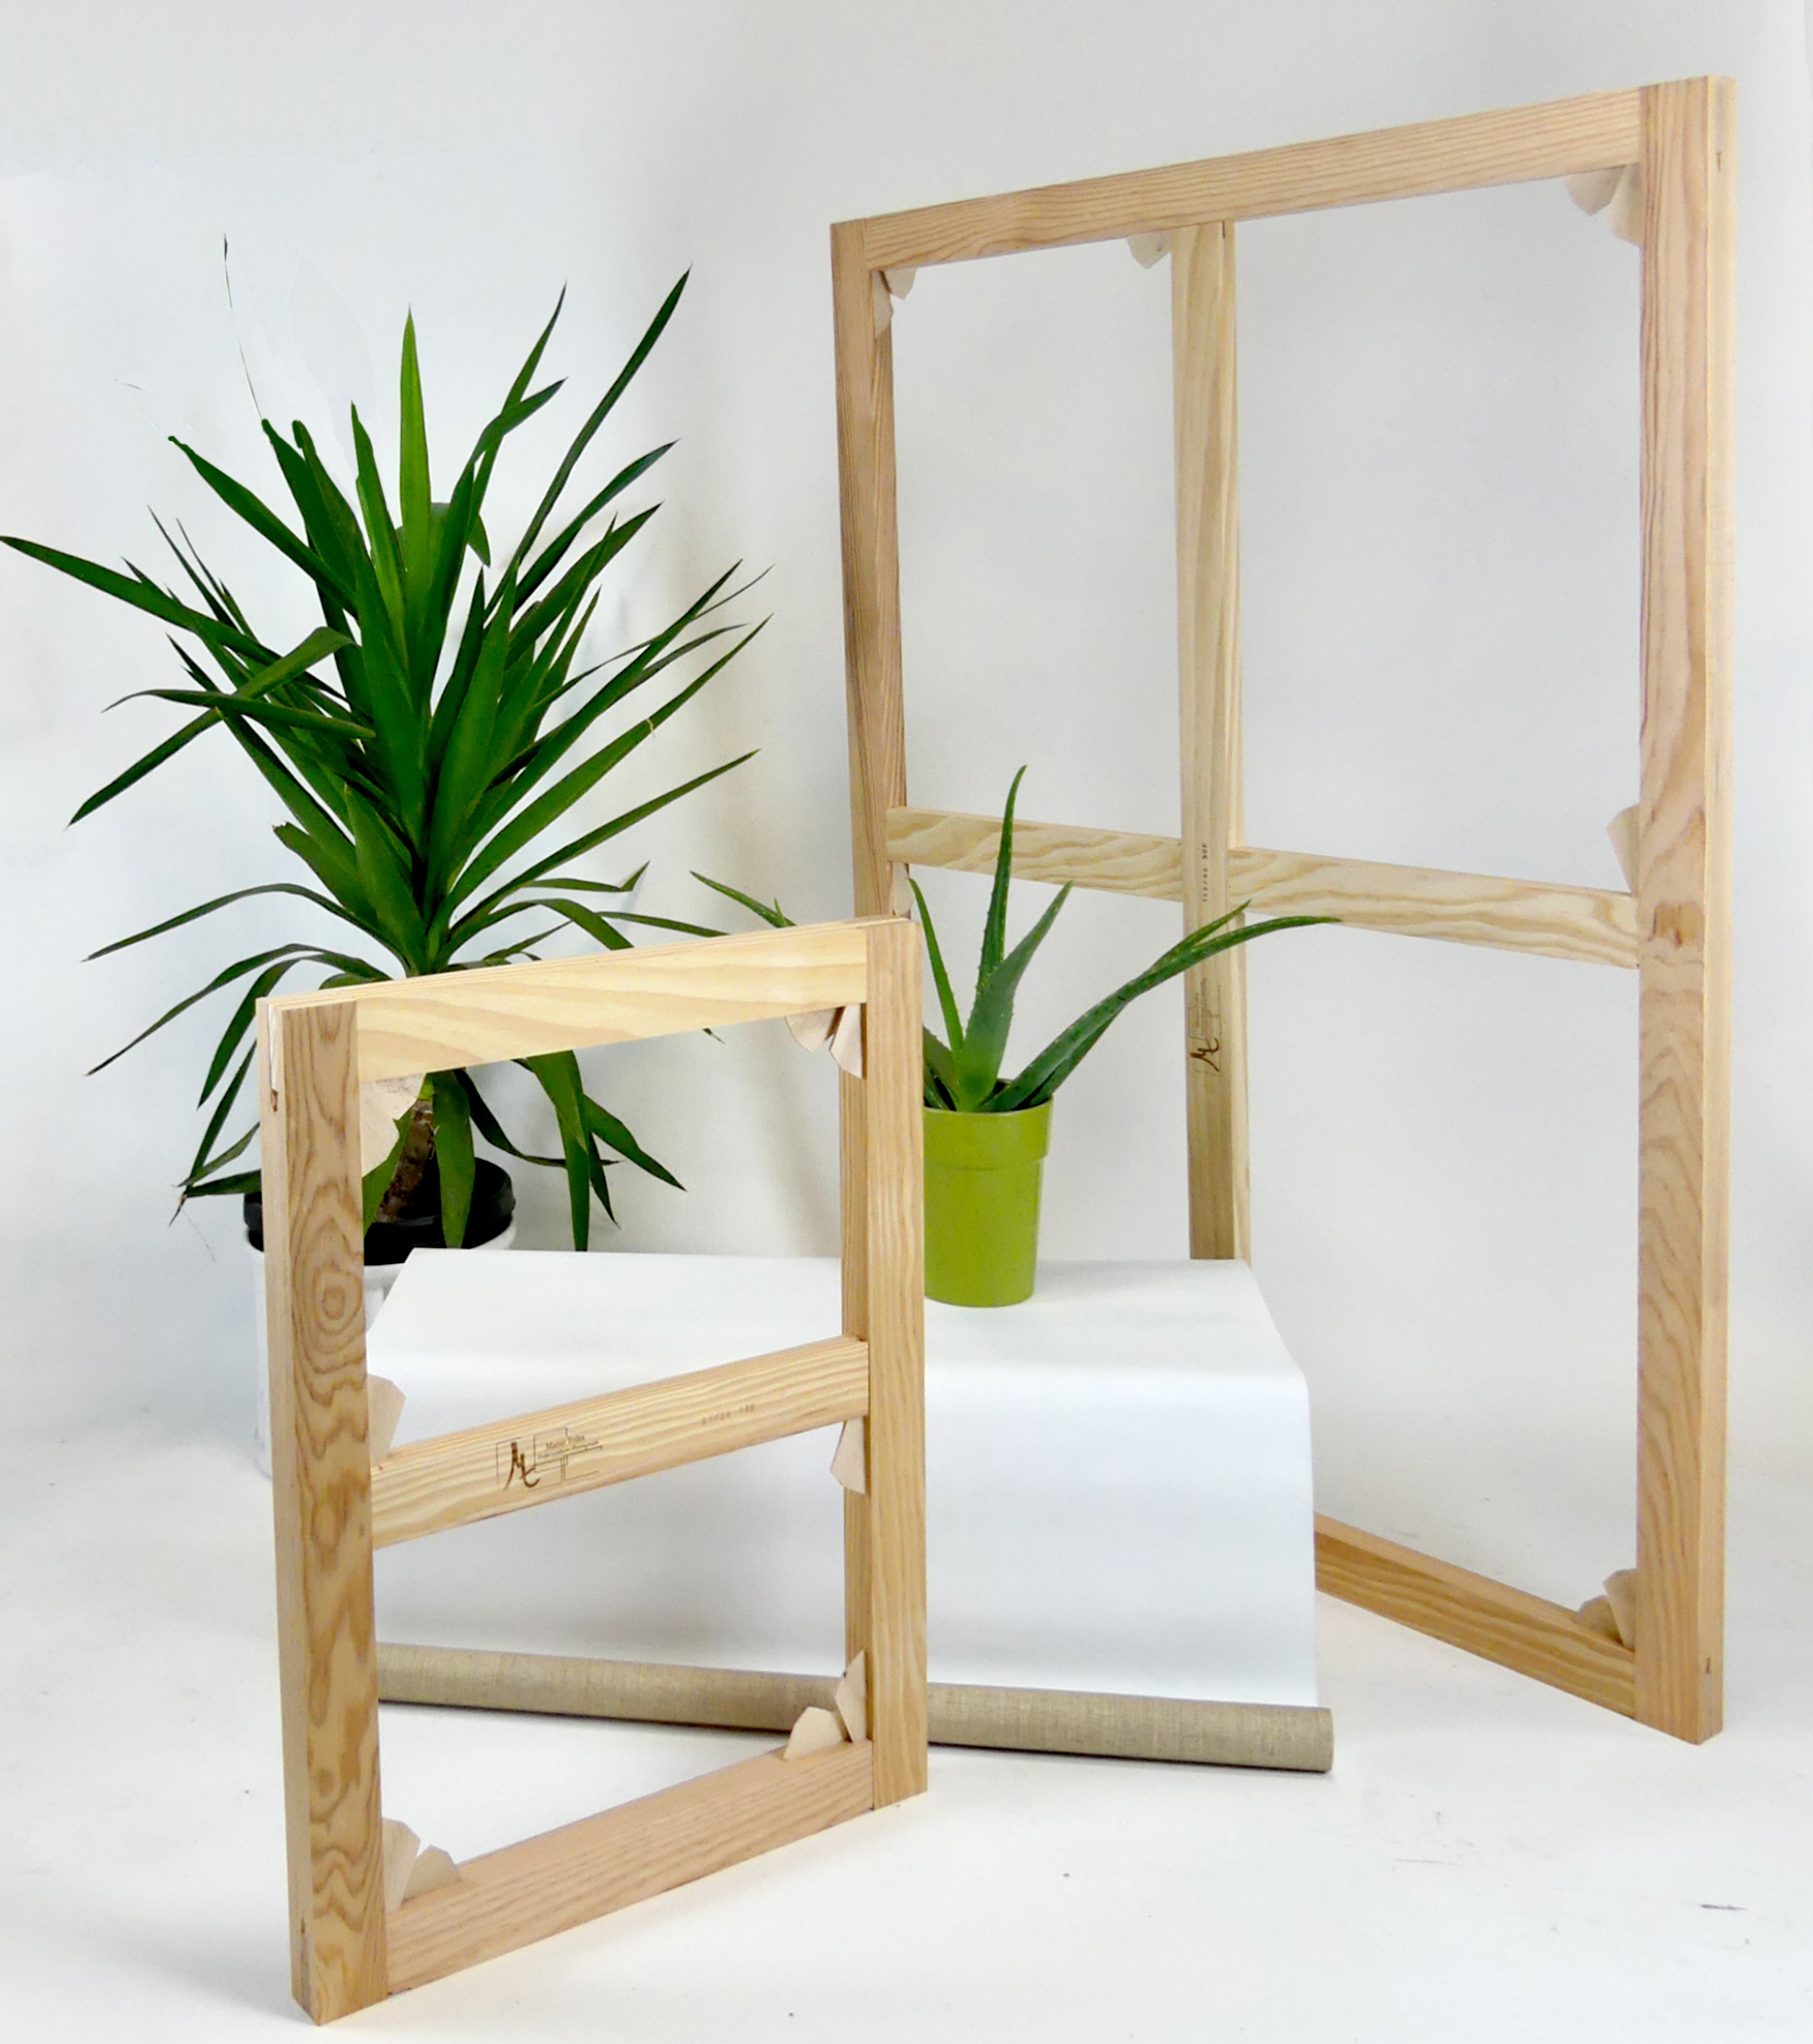
Traditional Joinery Anatomy:
Master Toiles frames feature a unique traditional design and high quality:
- Two stretcher bars with a mortise at each end.
- Two crossbars with a tenon at each end.
This "Tenon and Mortise" system ensures superior squareness and structural integrity.
A. Organize the Elements. Our kits are pre-assembled and then dismantled before shipping to ensure a perfect fit. Simply match the stamped numbers (e.g., match #1 to #1) on the tenons and the slope of the bars.
B. Assemble the Cross (if applicable). Follow the markers and screw the pieces together. Ensure the screw heads are on the canvas side so they remain hidden once the frame is finished.
C. Interlocking the Joints. Engage the corner of the tenon into the mortise, then pivot it into place without driving it in completely yet.
D. Final Assembly. Connect the bars together, taking care not to break the fine edges of the tenons.
E. Tightening. Use the mallet to gently tap all parts into place. Ensure that opposite sides remain perfectly parallel throughout the process.
F. Verify Squareness. Once aligned, your frame is ready for stretching. Note: We strongly recommend inserting the hardwood keys only after the painting is finished.
Les articles reliés
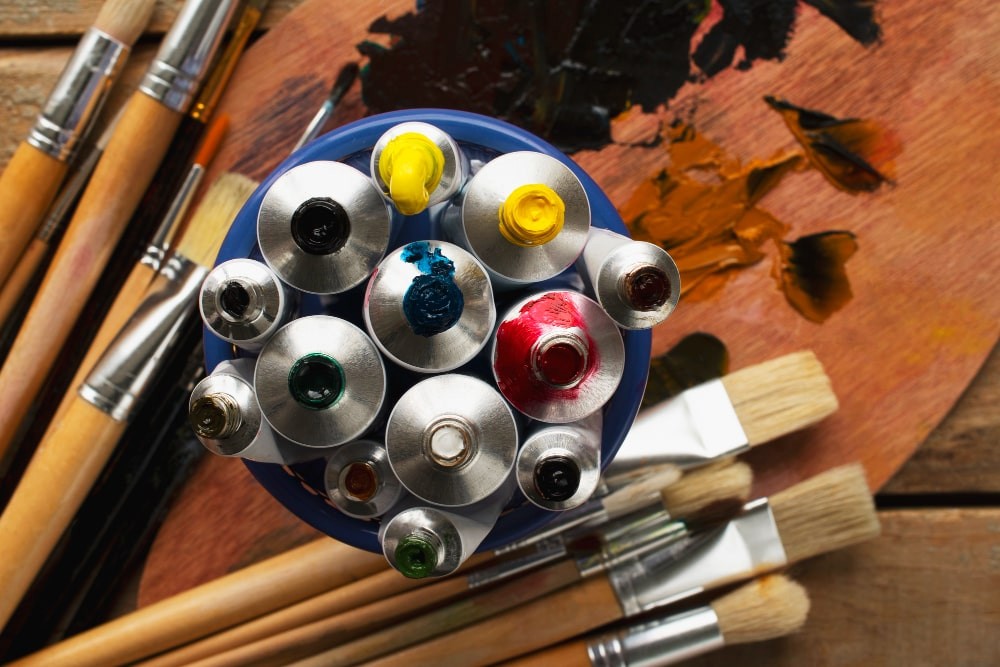
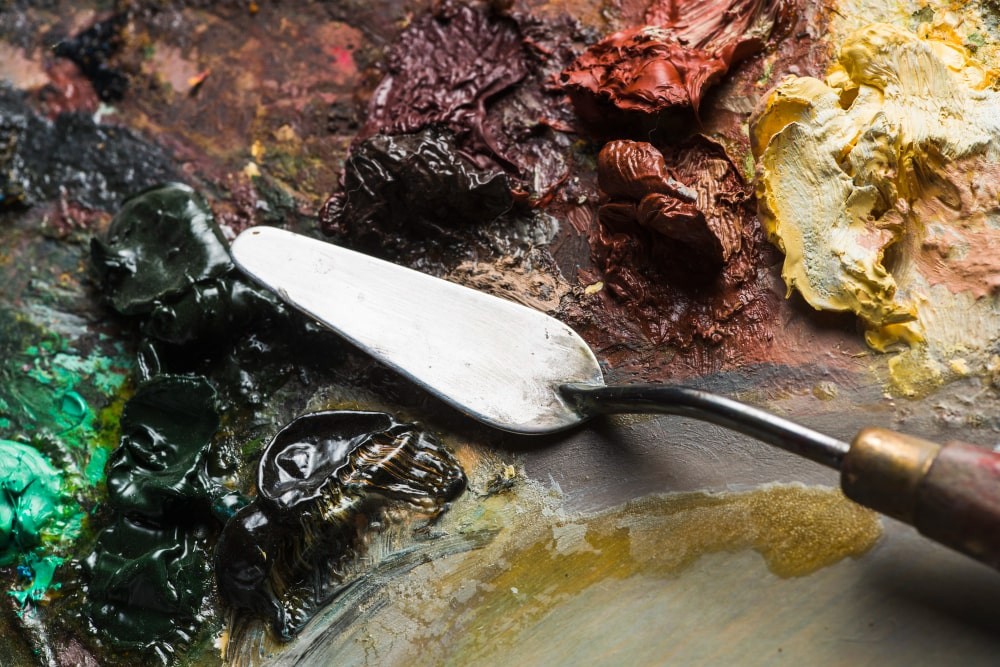
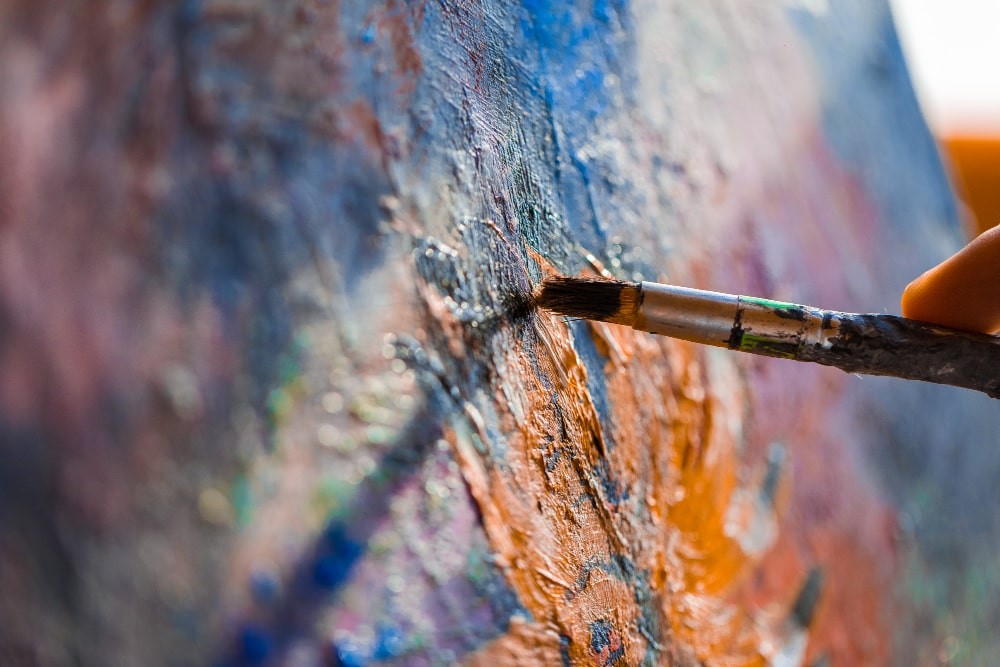
Guide : Comment choisir parmi les différents types de peintures ? En fonction de sa sensibilité, de ses inspirations ou de son style artistique, chaque peintre a ses techniques de prédilection : huile, acrylique, aquarelle ou gouache. Quelles sont les dif
Each artist possesses a unique sensibility. Whether you are drawn to the ancestral nobility of oil, the innovative spontaneity...
18 avril 2024
18 avril 2024
18 avril 2024